
Connect WHMCS to Whop
Whop is the payment platform behind this gateway. Paste your Sandbox key into WHMCS, check the connection, then switch WHMCS to Sandbox.
1. Connect the Sandbox key
- Open System Settings > Payment Gateways > Whop Payments (older WHMCS versions call this menu Setup).
- If Step 2: Connect Whop to WHMCS is not visible, open Step 1: Your Whop account > Additional options and choose I already have a Whop account.
- In the Sandbox card, paste the Sandbox API key you created, the credential that lets WHMCS act on your Whop business, and choose Connect.
What you see: WHMCS reads your business, checks its permissions, and sets up its webhook, the message Whop sends WHMCS whenever something changes there.
Done looks like: the card shows your Sandbox business name and a status badge.
2. Read the status
| Badge | Meaning |
|---|---|
| Not connected | No key has been saved for this environment yet. |
| Ready | The connection passed every check. |
| In use | Payment environment is set to this card. WHMCS uses it for new payments. |
| Needs attention | A check found a problem. Fix it, then choose Check connection again. |
Check connection confirms: the Whop business is active, card payments are active on it, the tax setting is correct, the key has the 20 permissions it verifies, and the webhook works. It does not check payment orchestration or which payment methods you turned on. Confirm those in Whop yourself.
When the card needs attention, it names the problem. Here are the three you are most likely to see:
- "In the Whop tax settings choose "I'll handle tax myself", then check the connection again. WHMCS calculates tax."
- "Card payments are not active on this Whop account, or the key cannot see that. Check the account and the key permissions, then check again."
- "Whop needs a public HTTPS callback URL. Set WHMCS System URL to your public HTTPS address, then check the connection." The Sandbox card words this finding slightly differently.
Fix the problem in Whop, then choose Check connection again. Troubleshooting covers every other finding the card can show.
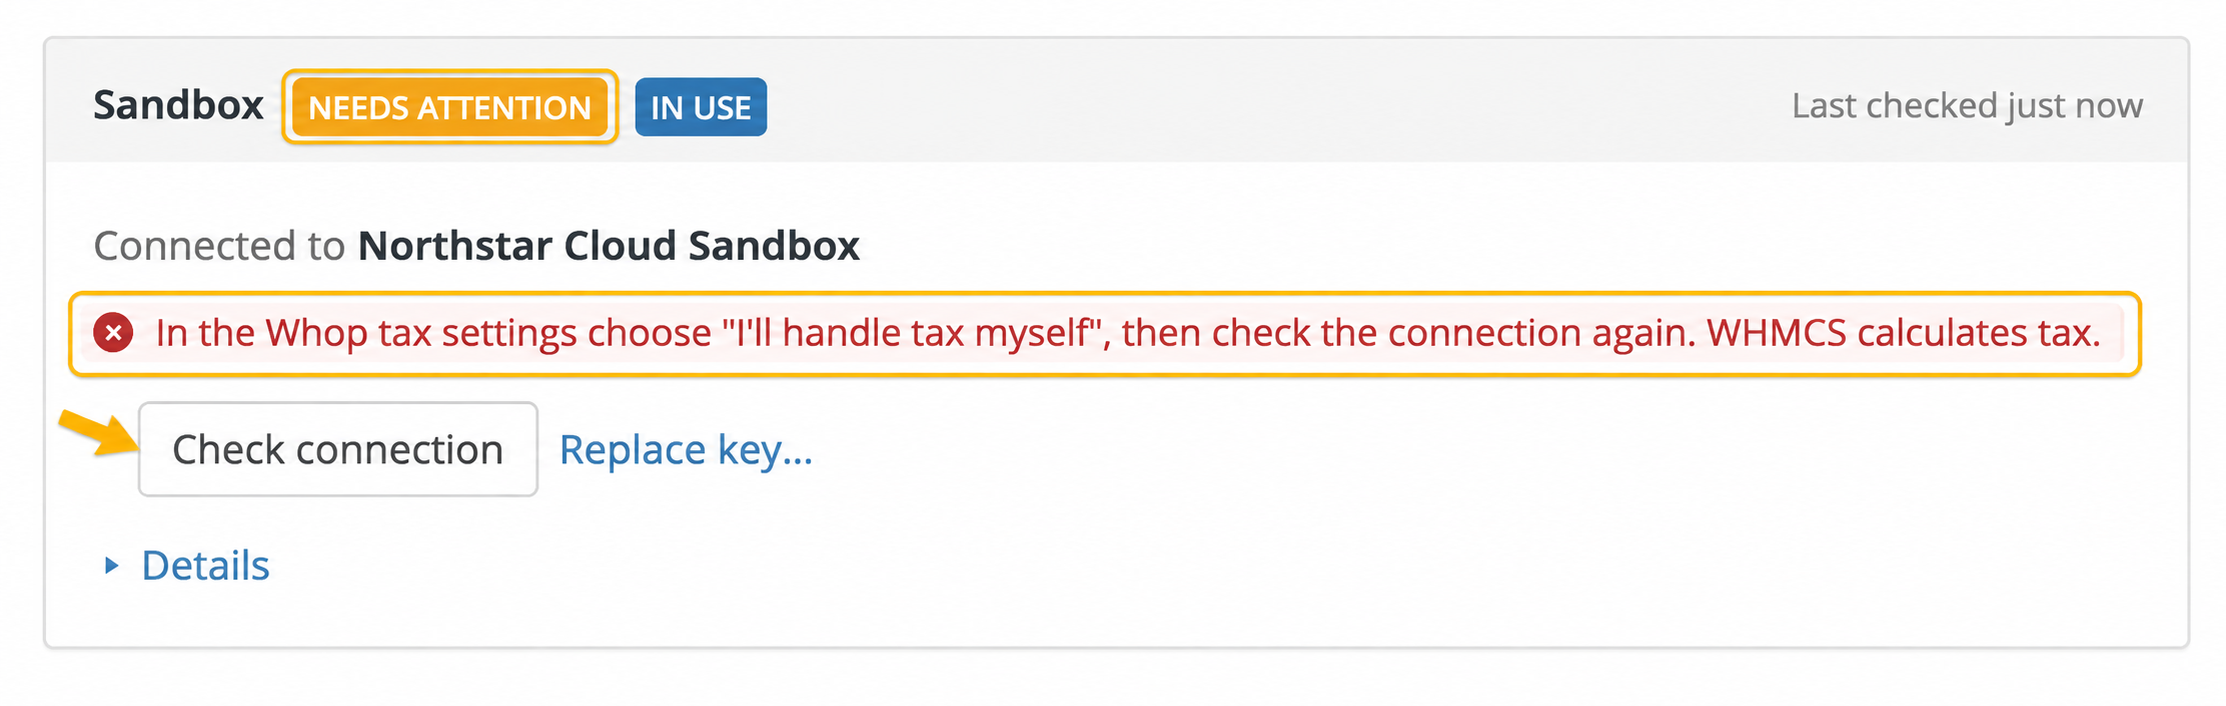
Sandbox: expand Needs attention to see the setting that needs correcting.
3. Select the environment and save
- Set Payment environment to Sandbox.
- Click the native Save Changes button.
This chooses which connection handles new payments, new saved cards, and captures. Save Changes applies it; changing the dropdown alone does nothing until you save.
Done looks like: the Sandbox card shows both Ready and In use.
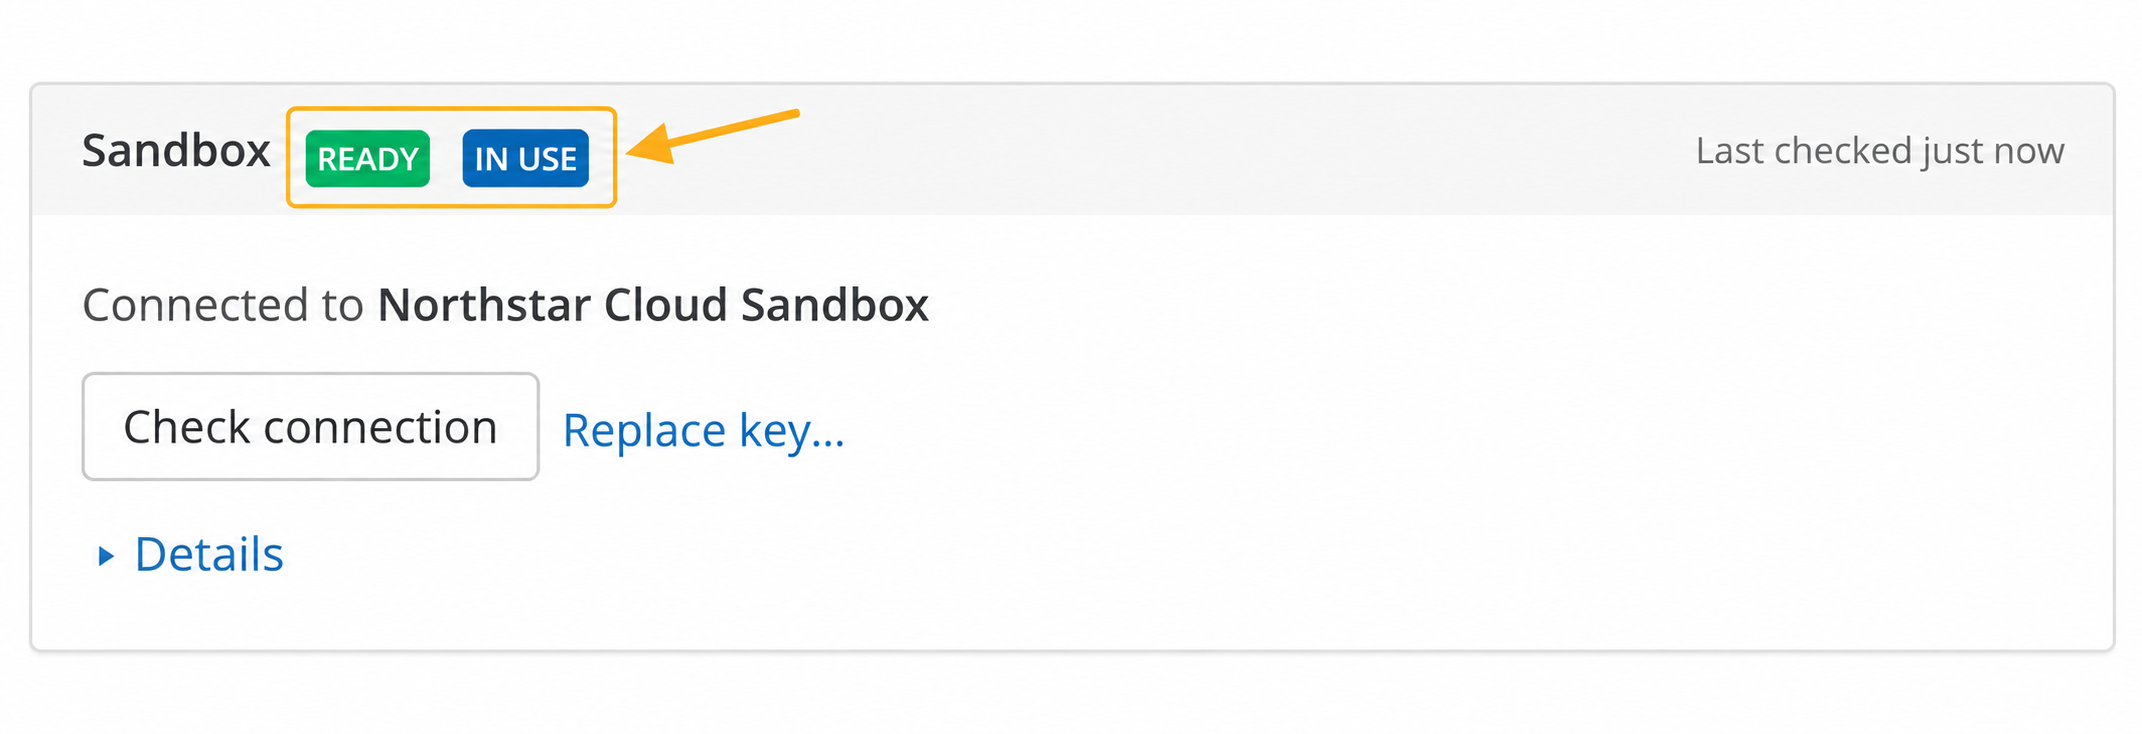
Sandbox: Ready confirms the connection check passed; In use identifies the selected environment.
Webhooks are set up for you
A webhook tells WHMCS that something changed at Whop, such as a payment finishing. Connect creates this for you at your WHMCS System URL, and Check connection repairs it if anything about it changes. There is nothing to configure here, and no separate webhook to create in Whop.
One Whop business per WHMCS installation
Connect one Whop business to one WHMCS installation. Whop sends every payment event to every installation connected to a business, so two installations sharing one business would record each other's payments, refunds and saved cards. The settings panel repeats this warning above the Sandbox and Live cards. The panel warns about this rather than enforcing it, so keep one business per installation when you set up a second site. If you need another business, create a separate one.
Replace an API key
Choose Replace key… on a connected card, paste the new key, and choose Save new key. A key from the same business updates in place and keeps every saved card. A key that belongs to a different business is refused, and your saved key stays untouched.
3D Secure defaults are fine to leave as they are for now. Paying an invoice explains what each choice does.
Next: Test a payment
Updated 16 days ago